Create a block
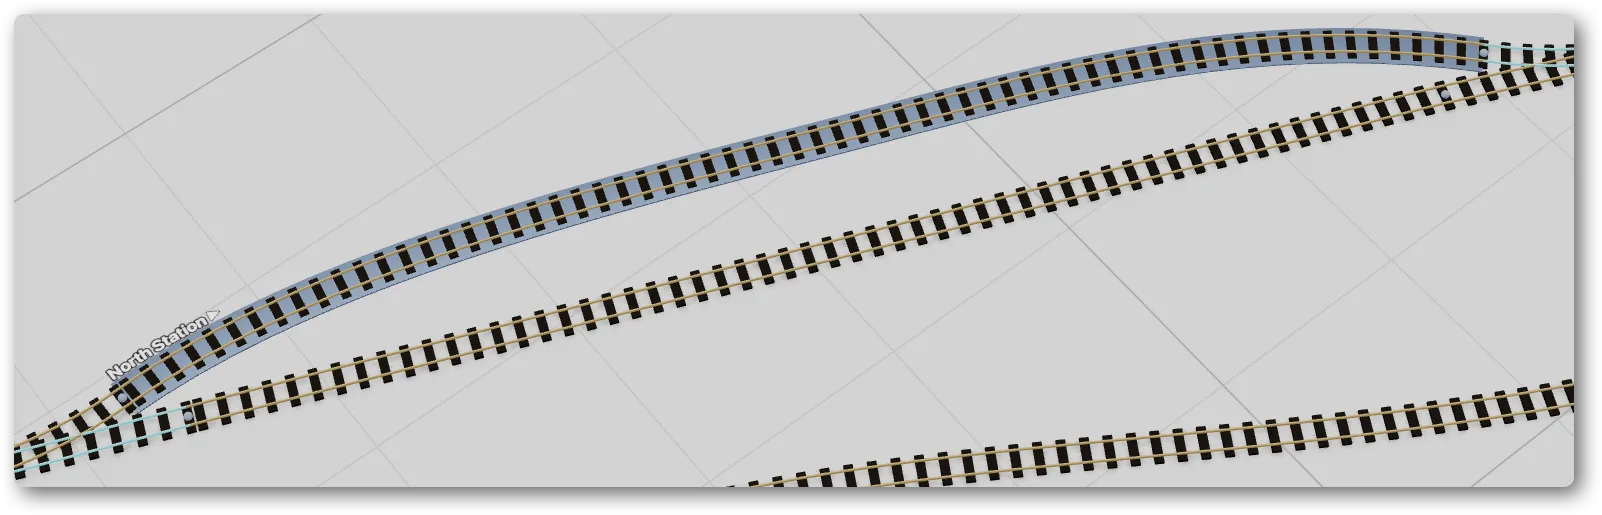
In TrainPanel, a block is an identified portion of your layout designed for reliable model railway block detection. It’s the base unit for safety and routing: a block can be occupied by only one loco at a time.
Boundaries: start and end
A block is defined by two port references:
- The start port (block entry).
- The end port (block exit).
Every rail located between these two ports (following connectivity) belongs to the block. You don’t pick the rails by hand — connectivity decides.
Creation procedure
In Edit mode:
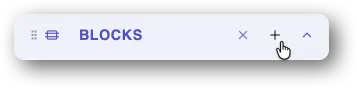
- Open the Blocks sidebar section, click +.
- Instructions appear in the block properties panel (on the right)
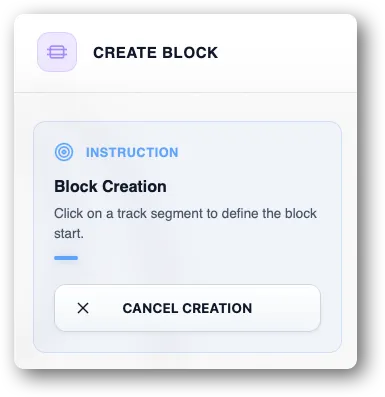
- Click the start port on the canvas (a free port at a rail end). While you move the mouse, rails will highlight if you can click them to select the port.

- Click the end port.
- Give the block a name (“North Yard”, “Passing Loop 2”).
- Save.
The block appears highlighted on the canvas with its assigned color.
Edit the boundaries
On the block’s card:
- Edit start port or end port: redo the selection on the canvas.
- Edit name: free-form.
If you change the boundaries, the rail list is recomputed. A locomotive that was inside the block before the change may end up outside or in a different block.
Delete a block
Delete button on the card. The track itself is untouched — you only remove the logical identity of the block.
Going further
- Detection mode: see Detection modes (coming soon).
- Attach sensors to a block for automatic detection: see Sensors.
- When a block stays “stuck”: see Reservation and release (coming soon).